Learning Python with Advent of Code Walkthroughs
Dazbo's Advent of Code solutions, written in Python
The Python Journey - Encrypting Your Input

Useful Links
No Aggregating inputsgit-crypt
Page Contents
Don’t Share Your Input Data
Input data is unique to users. The input data that I am assigned (for any given AoC puzzle) will be different to the input data that you see.
Eric, the creator of Advent of Code, has requested that participants do not share their input data. As described here, sharing the input files would make it easier for someone to steal the entire AoC site. AoC is an immensely valuable and useful creation, and we don’t want to help any freeloaders to steal the intellectual property into which Eric has put so much time and effort.
What To Do?
Personally, I always want to be able to store my input data, along with my solution. That way, I can synchronise my repo across multiple devices, and be sure I’m always working with the same input data.
Furthermore, I want to share my solutions with all of you. And as such, my repo is public. But I don’t want to share my input data with anyone else.
My solution: encrypt the input data.
How to Encrypt?
There are many ways to encrypt data that you check-in to GitHub. But one method I like is git-crypt. Git-Crypt performs transparent encryption and decryption of selected files, when pushing/pulling from your GitHub repo, respectively. Thus, once you’ve set it up, you don’t need to do anything. It just works.
Working with Git-Crypt
Installation
First, you’ll need to install Git-Crypt. On Linux (or Linux on Windows using WSL):
sudo apt install git-crypt
In Windows, even if you install in WSL, the git integration with (say) Visual Studio Code, will break. So, I recommend simply downloading the lightweight git-crypt executable, and putting it in your path:
- Download the x86_64.exe from the latest tag here.
- Rename it to git-crypt.exe and store it in a location in your path.
Per-Repo (or Across Repos) Setup
Now you need to create a key, which you need to store securely. You can do this per repo, but you can also use the same key between multiple repos. (If you’ve already got a key, be careful not to overwrite it!)
git-crypt init # generate the secure key
git-crypt export-key ../git-crypt-key # exports the symmetric key
Now store the symmetric key securely! If you need to decrypt your repo on another machine, you’ll need to supply this key. For example, you could store the key in a password manager.
Using Git-Crypt in Your Repo
Create .gitattributes file in the root of your repo (alongside your .gitignore file). This file tells git which files need to be automatically encrypted/decrypted with git-crypt.
For example, say you want to always encrypt your .env file, and all your input files are named input.txt. Your .gitattributes would look like this:
input*.txt filter=git-crypt diff=git-crypt
.env filter=git-crypt diff=git-crypt
Now commit your .gitattributes.
Useful Git-Crypt Commands
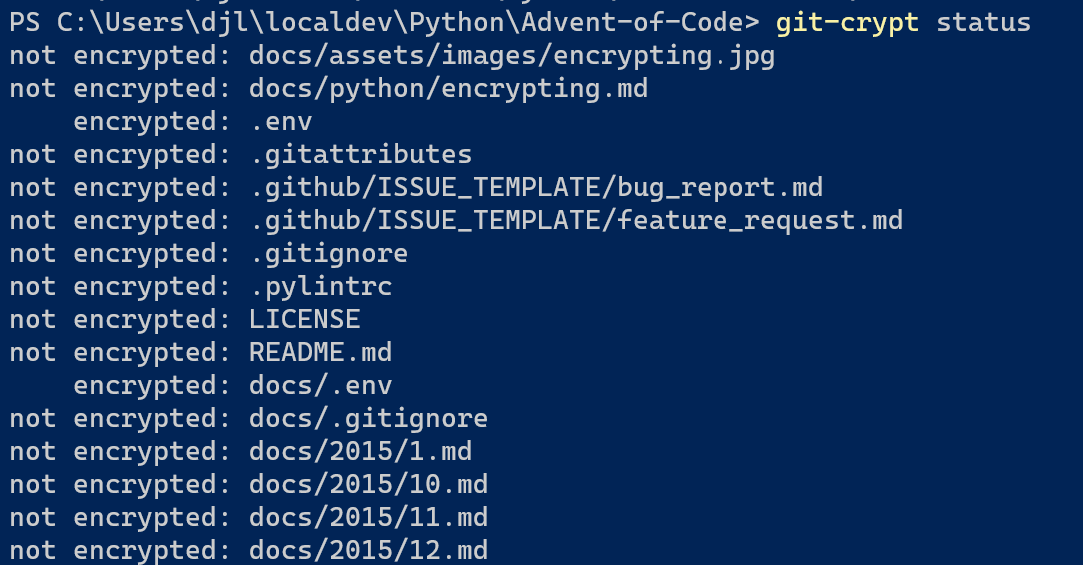
git-crypt status # check what will be encrypted

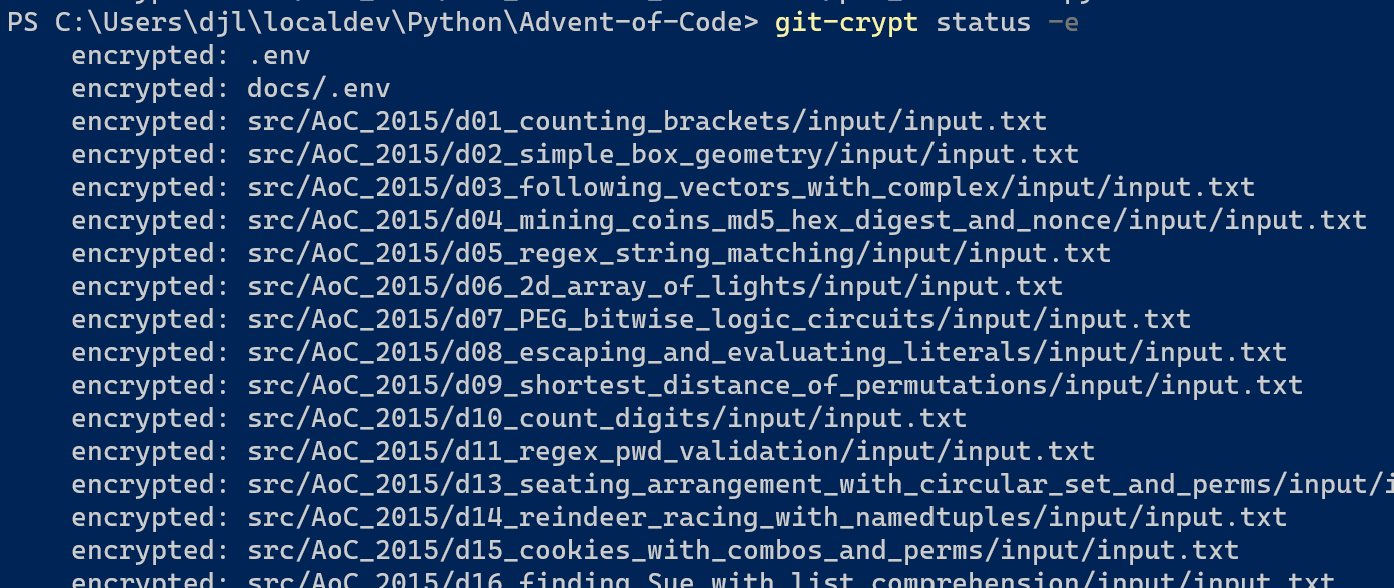
git-crypt status -e # show only encrypted [and should be encrypted]

git-crypt lock # lock all files locally. (This happens transparently on push to remote.)
git-crypt unlock [path/to/keyfile] # unlock all encrypted local files. (Transparent on pull.)
Cloning an Exiting Repo with Encrypted Files
For a newly cloned repo (e.g. on a new machine), you will need to unlock any encrypted files manually. You can do this with git-crypt unlock and pass in your key. Note: you should do this rather than running git-crypt init, when cloning an existing repo.
git-crypt unlock ../git-crypt-key
Retrospective Encryption
Of course, if you’re looking to encrypt having previously staged / committed / pushed files, those files will not be encrypted automatically. But you can retrospectively fix this!
git-crypt status -f  # FIX, i.e. retrospectively encrypt files that were previous staged / committed
git commit -m "My retrofix"
git push
Caution: in this case, your git history will still contain the unencrypted versions. You can deal with this if you want. (If it were sensitive data you really needed to keep secret, you should definitely do this!)
What Does It Look Like in GitHub?
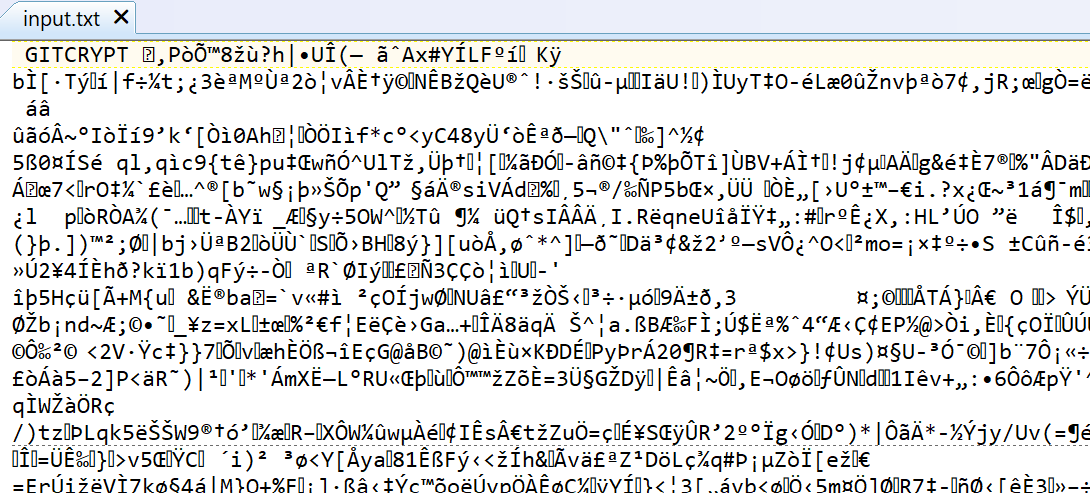
After check-in and push, your input files will be visible in your GitHub repo. But the contents of the files will not be readable. You can download them in raw format, but if you open them, they’ll look something like this…

Some Issues You Might Face
If you happen to change the location of your git-crypt executables, then this will break git-crypt. For example, I’ve faced this when moving a repo from being managed in my Windows environment to being managed in my WSL environment.
In this scenario you can fix by updating .git/config and then updating the git-crypt settings, e.g.
[filter "git-crypt"]
	smudge = \"git-crypt\" smudge
	clean = \"git-crypt\" clean