Learning Python with Advent of Code Walkthroughs
Dazbo's Advent of Code solutions, written in Python
The Python Journey - Jupyter Notebooks
Useful Links
JupyterJupyter Project DocumentationJupyter Lab DocumentationInstalling JupyterNotebook Tips and TricksAnacondaSciPy Docker ComposeGoogle ColabAnaconda Cloud
Page Contents
- What are Jupyter Notebooks?
- A Few Benefits of Notebooks
- Ideal Scenarios for Using Notebooks
- Jupyter Notebook vs Jupyter Lab
- Options for Running Jupyter Notebooks and Jupyter Labs
What are Jupyter Notebooks?
Integrated Development Environments (IDEs) have been the go-to choice for developers seeking a dedicated space to write, test, and debug their code. However, as data science and machine learning began gaining traction, there was increasing need for a more interactive and data-centric environment. Enter Jupyter Notebooks: a web-based application that has redefined the way we interact with code and data, the way we document our code, and the way we share it.
Unlike traditional IDEs, Jupyter Notebooks allow for code, data, and multimedia to coexist in a shared space. With its cell-based structure, users can write and execute code in small chunks, making it easier to test ideas and see results in real-time. This attribute alone sets it apart from the linear approach of traditional coding environments, making Jupyter Notebooks a beloved tool among data scientists and analysts.
A Few Benefits of Notebooks
- Interactive computing: Real-time feedback on code execution, facilitating a more iterative and exploratory approach to problem-solving. Code is organised into cells. Cells can be executed and re-executed. The output of those cells (such as the values assigned to variables) are available to all subsequent cells in the Notebook. This is useful, since we can run a cell, and then experiment with changes to the cells that come after the cell.
- Documentation and sharing: You have the ability to intertwine code, text, and multimedia. You can place markdown or HTML content alongside your code. This greatly improves your ability to document your solutions and share insights. And you can structure your Notebook using chapters.
- Images and visualisation: You can include images and visualisations, equations, animations and video, alongside your code.
- Reproducibility: Encourages reproducible research by packaging code, data, and narrative into a single document.
- Extension ecosystem: A vast array of extensions and libraries are available, enhancing functionality and integration with other tools.
- Run shell commands: You can run shell commands from within the Notebook! This is useful for running file system commands, or - for example - to pre-install packages with
pip. - Easy to share: Since all the code, documentation and output is in a single file, this makes sharing (and collaborating) incredibly easy.
- Portable: Jupyter Notebooks are inherently portable, and can be run on a wide variety of platforms.
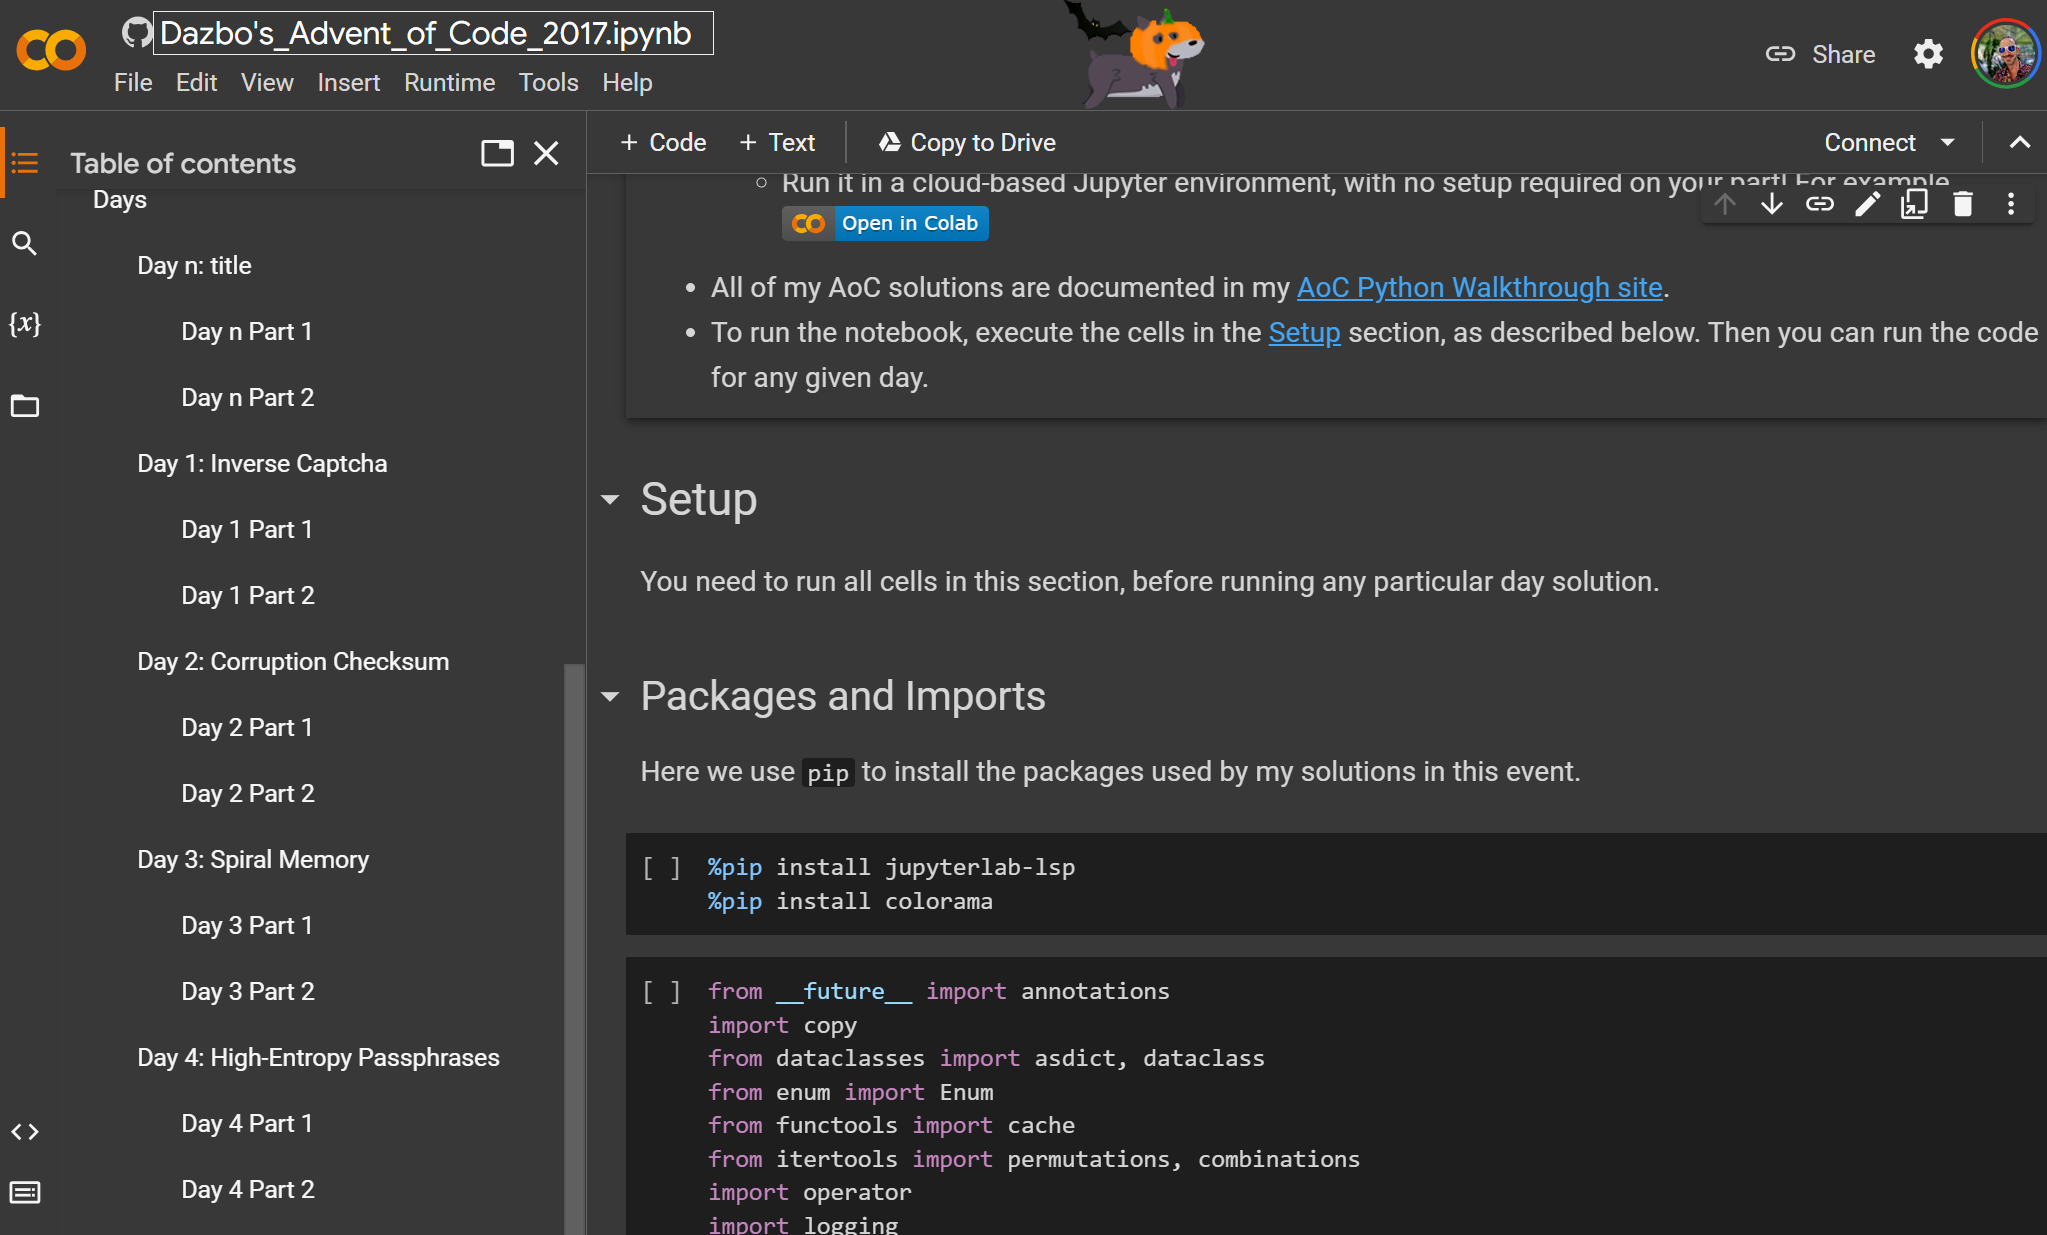
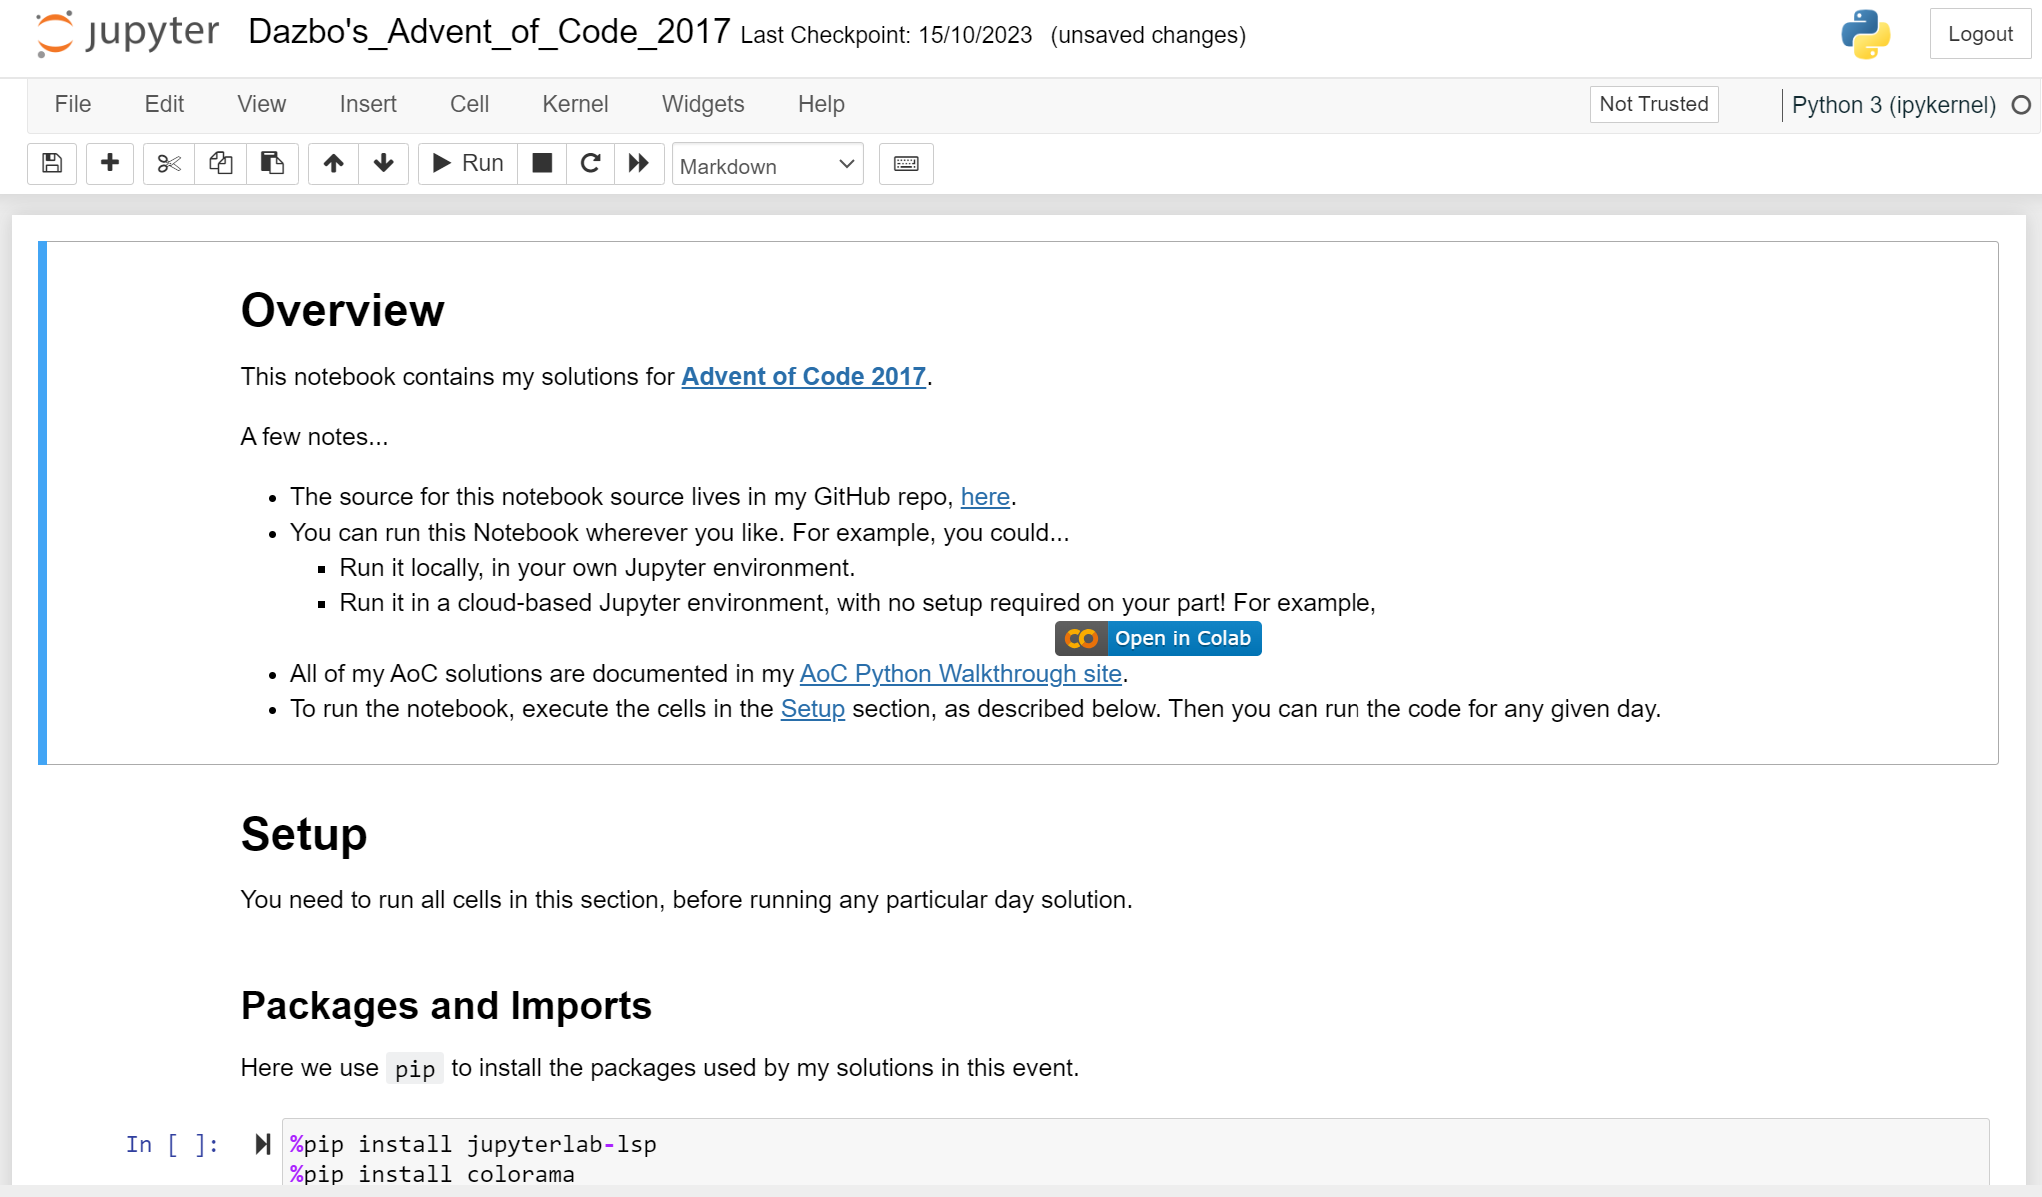
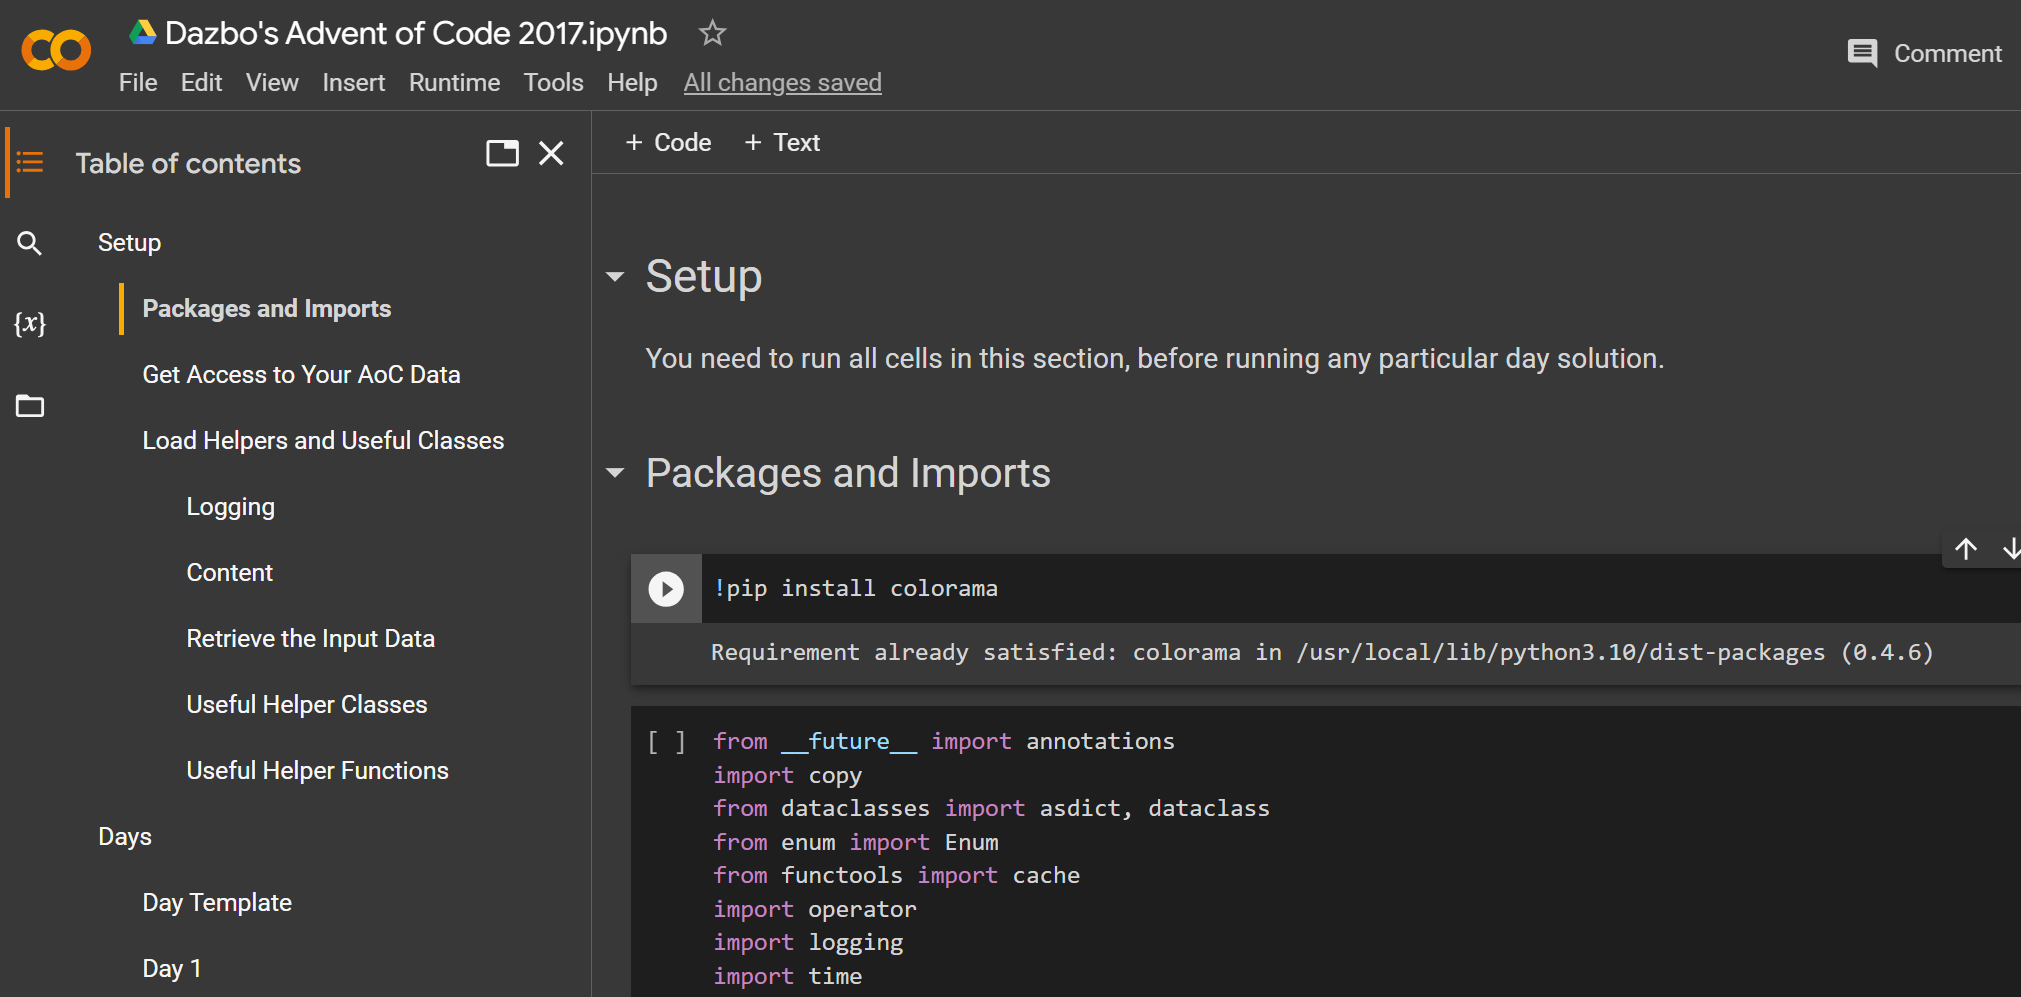
Here’s an example of a Notebook, with chapter structure, and with an introduction written in markdown:
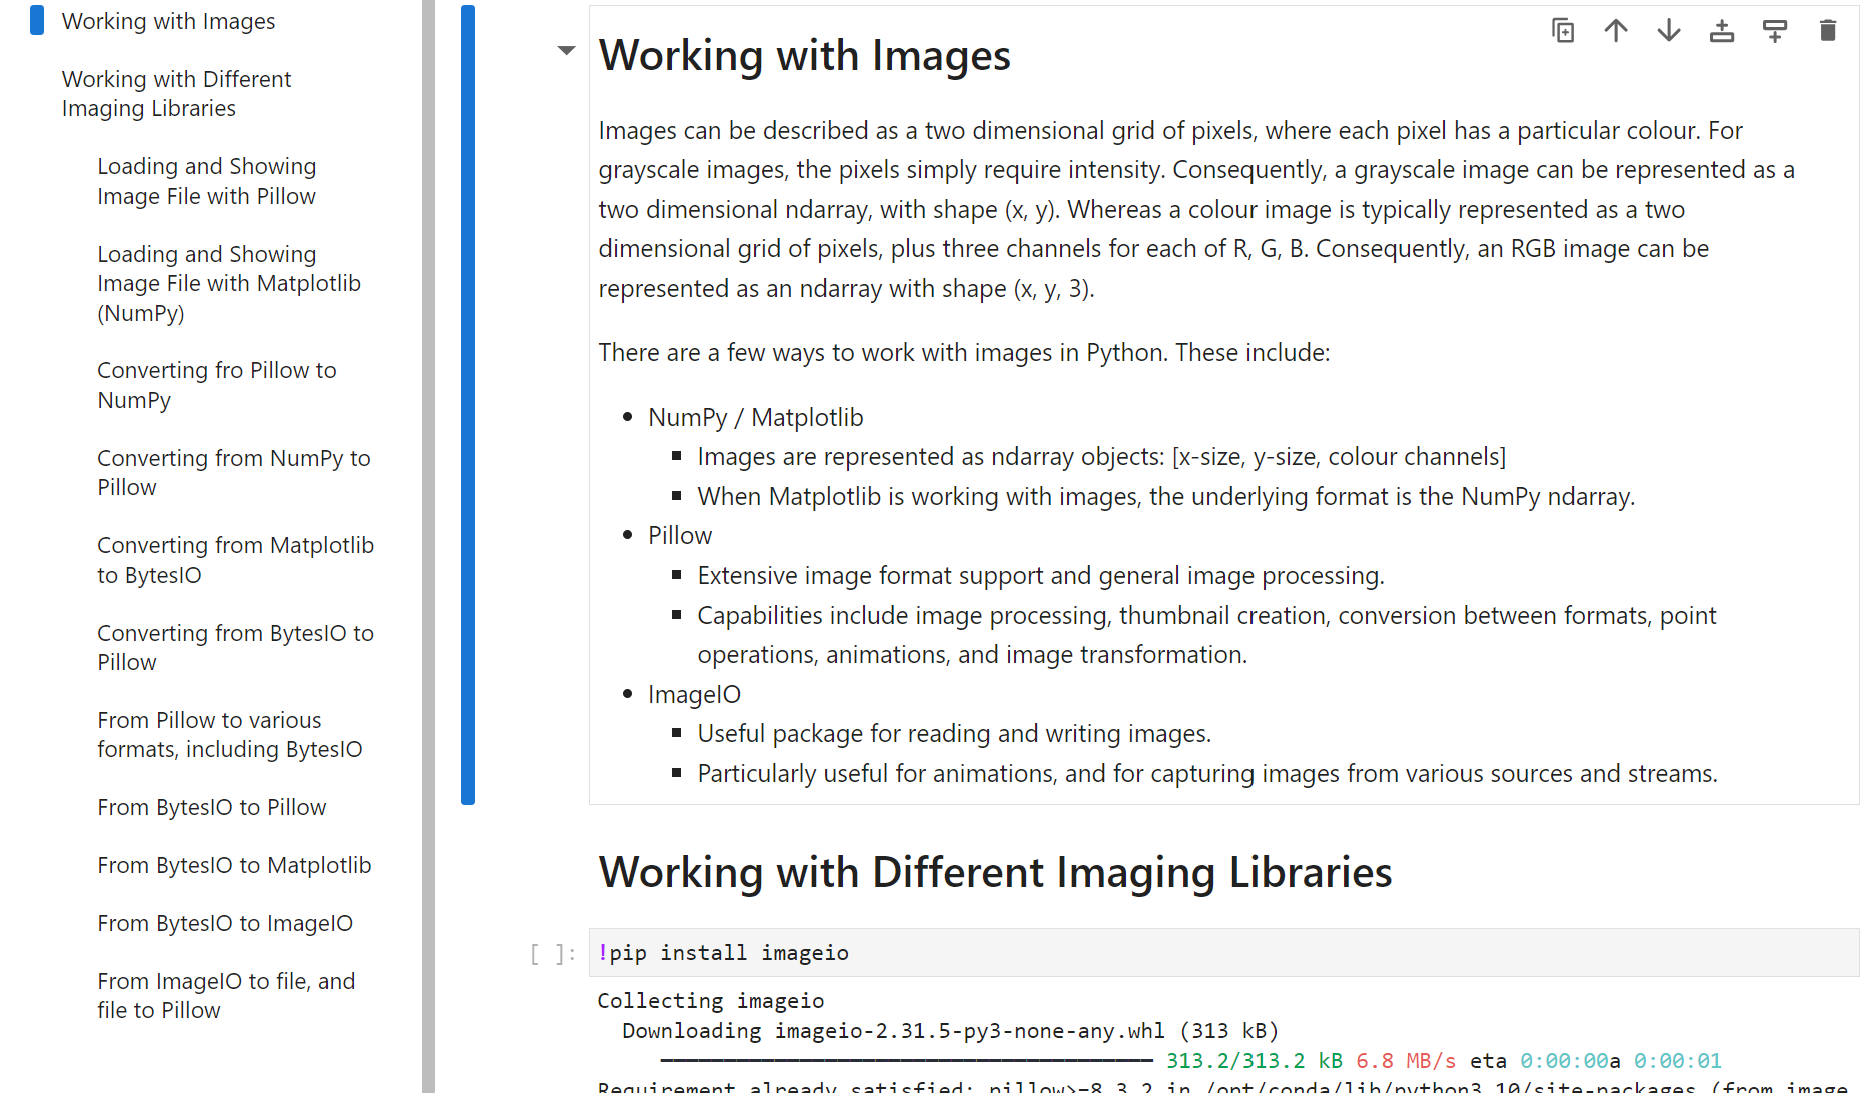
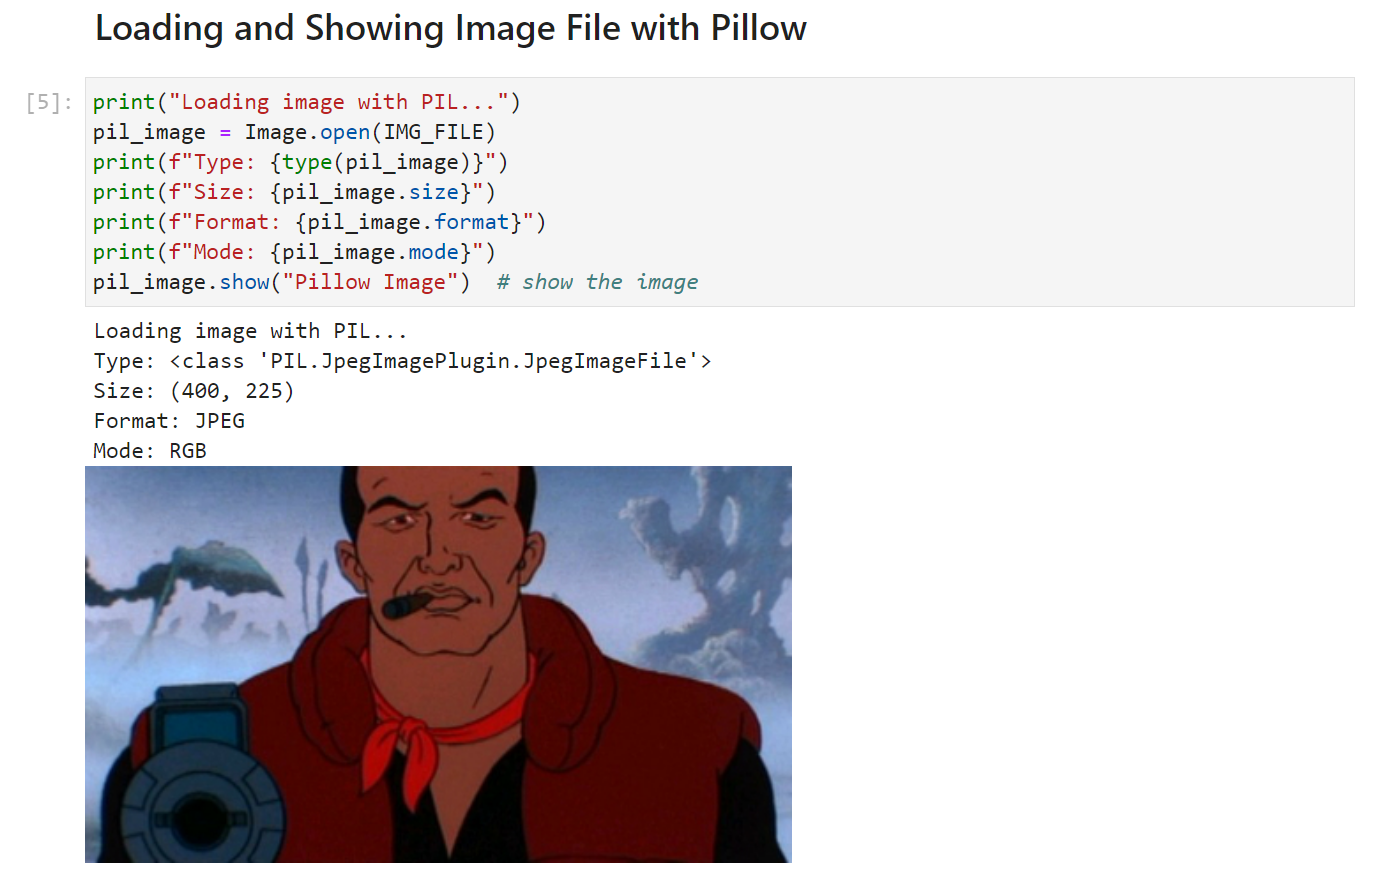
And here’s an example, where we’re dynamically generating an image with code, and showing it after the cell:
Ideal Scenarios for Using Notebooks
- Data Analysis and Visualization: Whether it’s cleaning data, performing statistical analysis, or creating visualizations, Jupyter Notebooks provide an interactive environment that fosters insight discovery.
- Machine Learning and Model Development: Building and testing models become streamlined with the ability to execute code incrementally and visualize results on the fly.
- Educational Purposes: An excellent tool for teaching coding and data science concepts, given its interactive nature and the ability to annotate code with rich text.
- Collaborative Research: Facilitates collaborative efforts by allowing multiple users to interact with the notebook and share their findings seamlessly.
Jupyter Notebook vs Jupyter Lab
Whilst Jupyter Notebooks are great, they lack some of the features that developers have come to expect from an IDE like Visual Studio. This gap in capability has led to the next generation of Jupyter notebook environment, called Jupyter Lab. It builds on the Jupyter notebook environment, but then adds a bunch of extra capabilities, like:
- The ability to run multiple tabs within the Lab environment.
- Integrated file explorer.
- The ability to run terminals alongside your code.
- The ability to rearrange and snap the windows in your view.
- The ability to show page navigation in the same view.
- The ability to perform visual debugging, in the same way you would use a debugger within your favourite IDE.
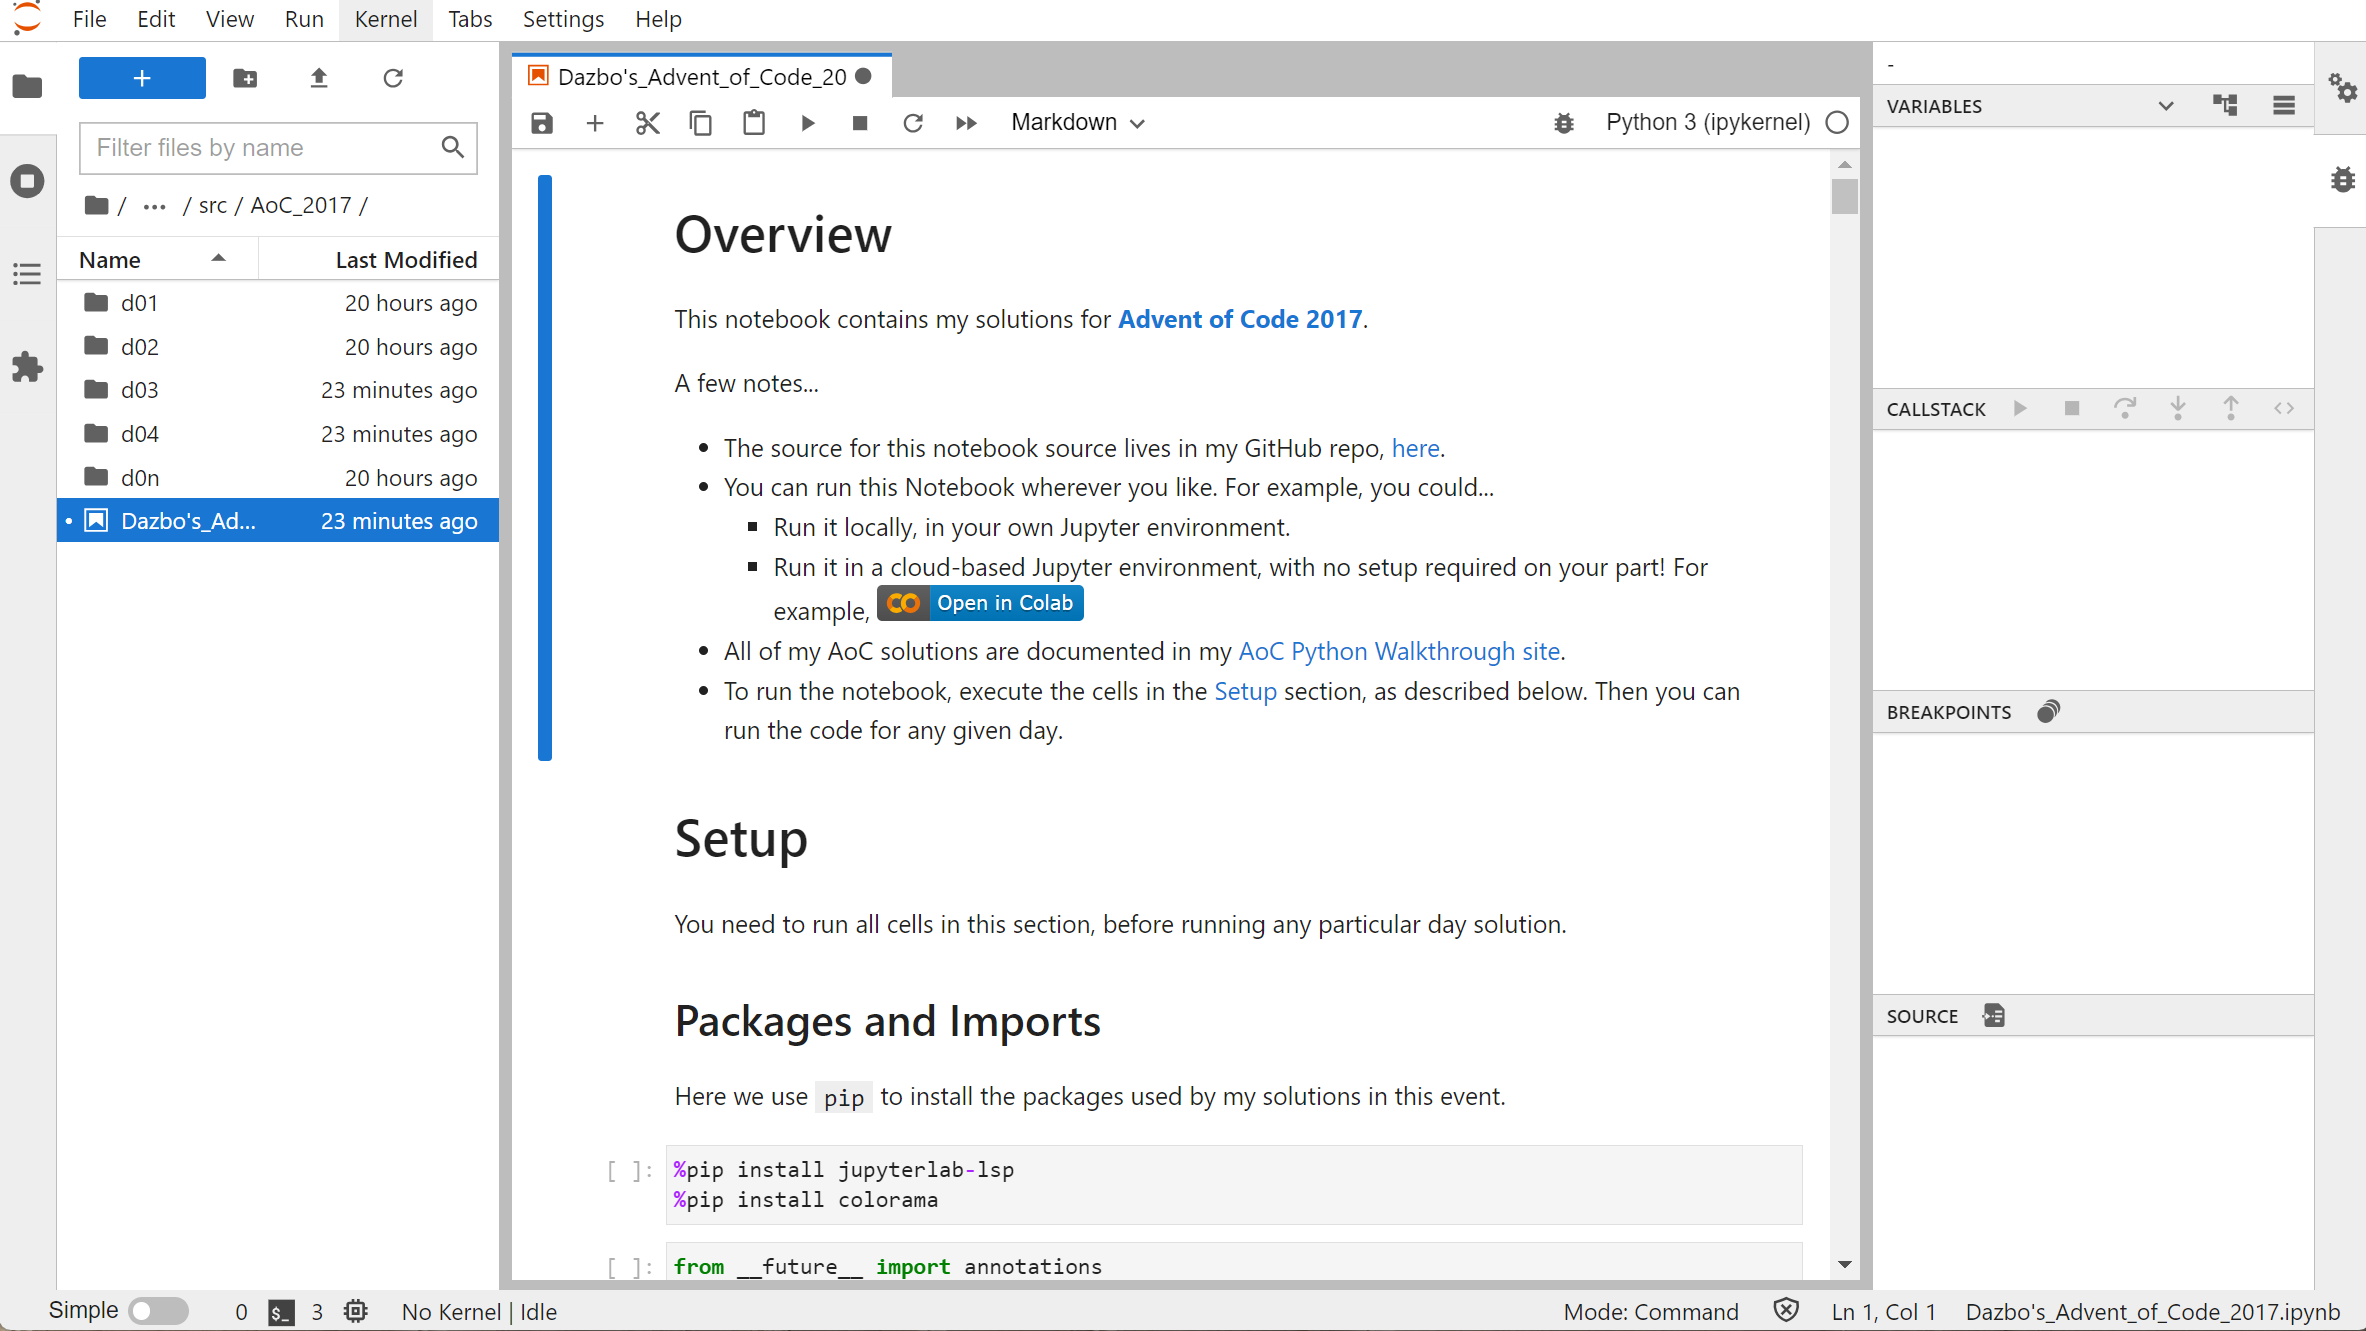
For example, here’s one of my AoC Jupyter Notebooks:
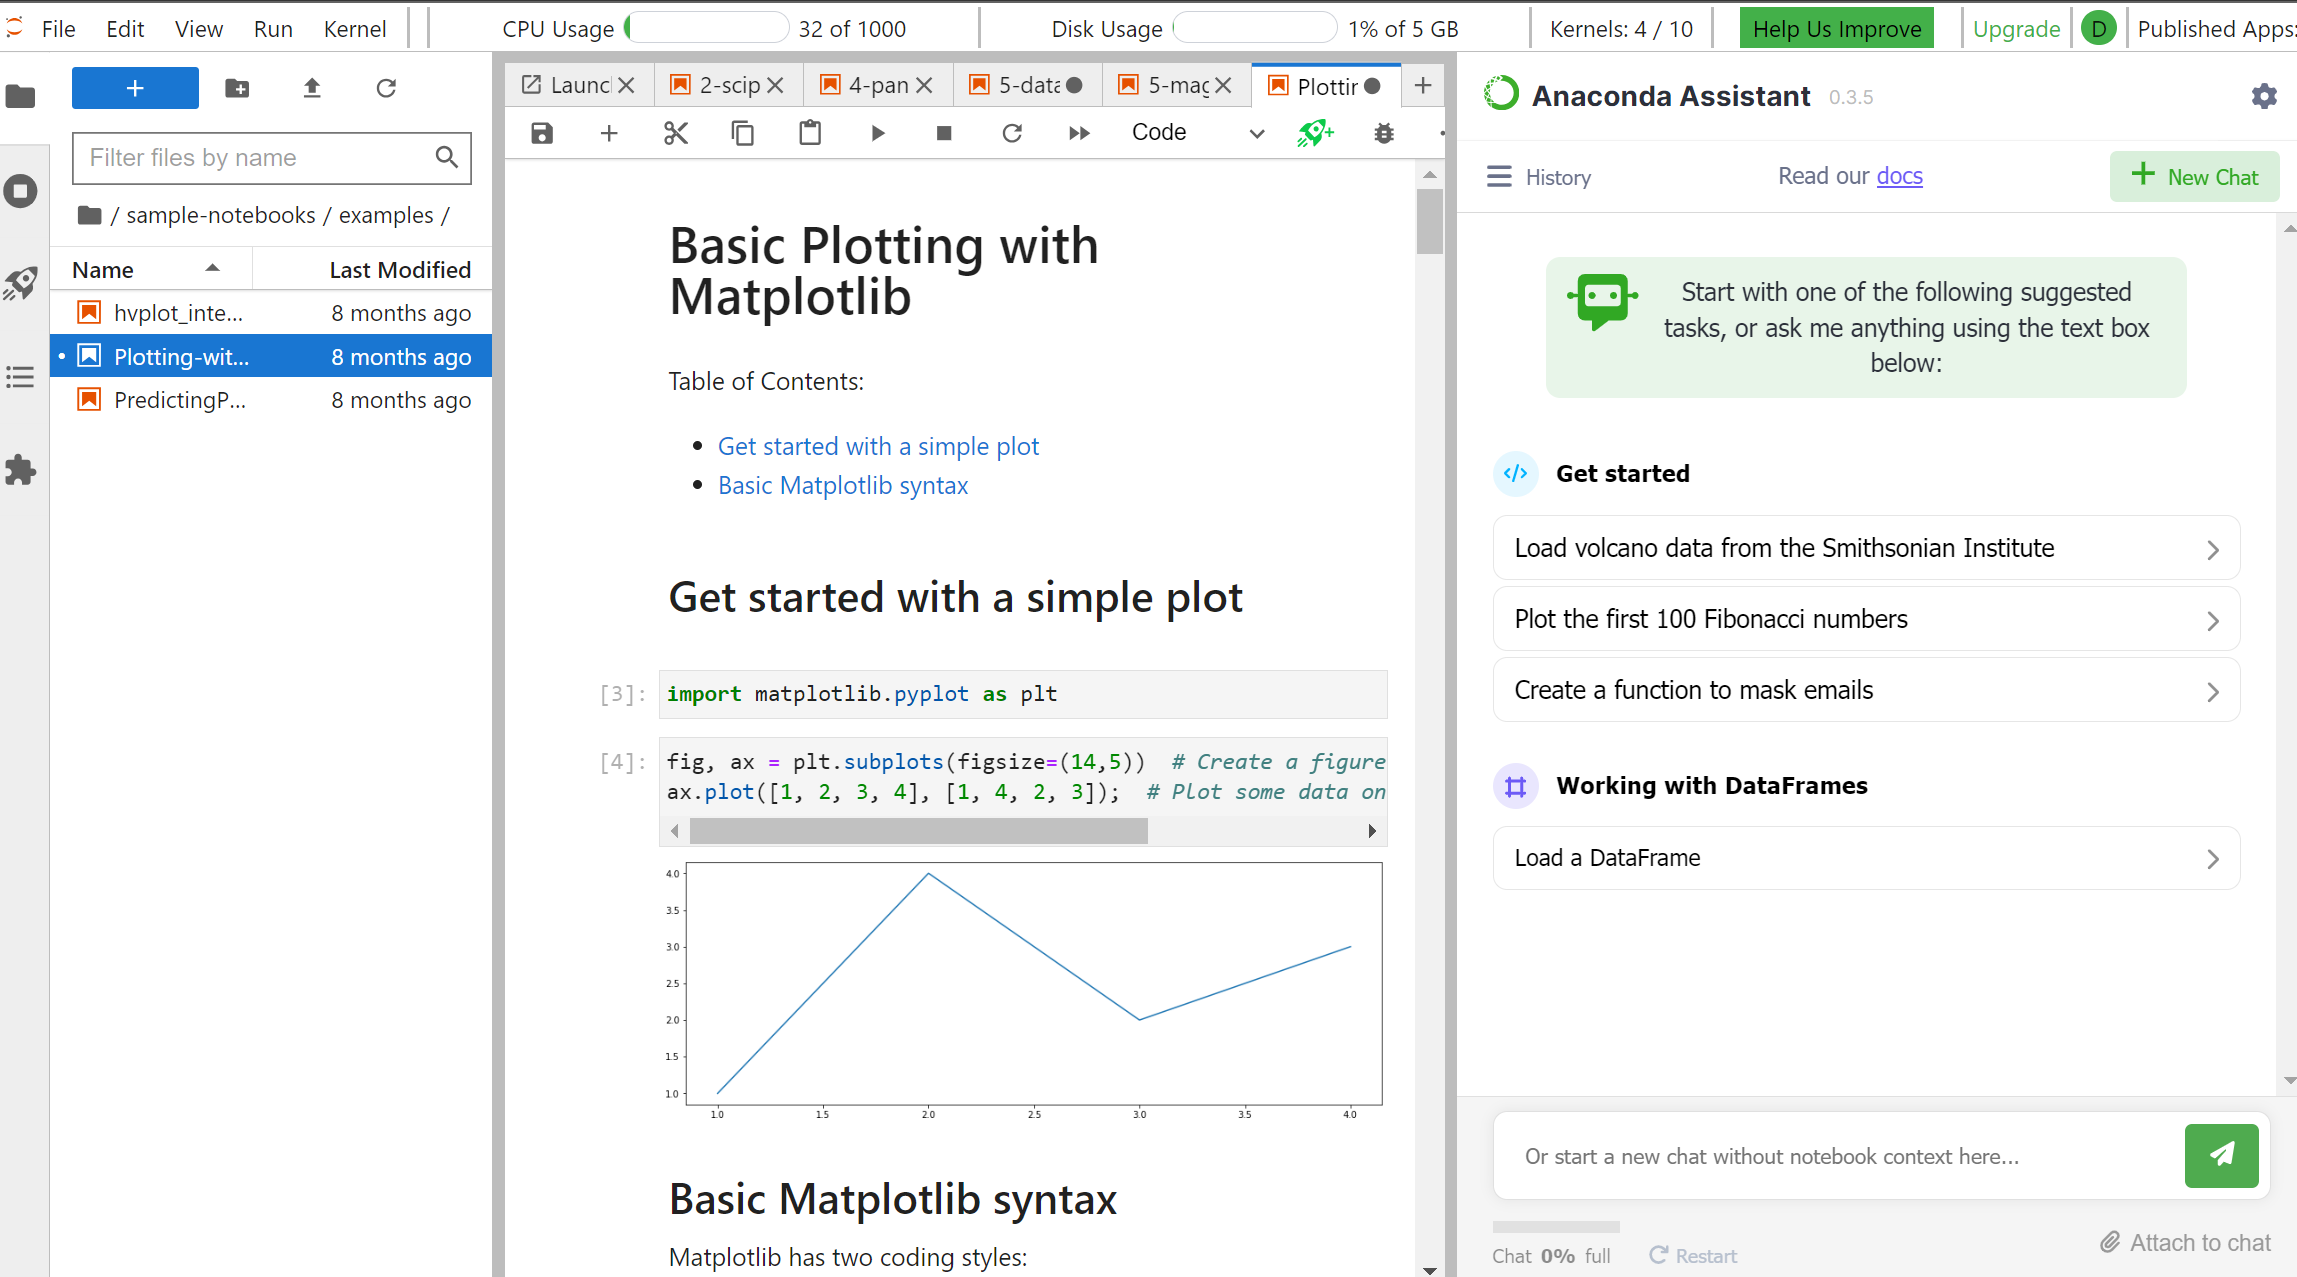
Here’s the same notebook, opened in the Jupyter Lab environment:
Options for Running Jupyter Notebooks and Jupyter Lab
There are a few ways to run a Jupyter Notebook. I’ll go through a few of them here.
Local Installation
Install with Pip
The quickest and easiest way is to install the notebook package with pip:
py -m pip install notebook
Then you can launch the notebook like this:
jupyter-notebook
Install with Anaconda
For a more sophisticated and complete experience, you can instead use Anaconda or Miniconda.
Anaconda is a fully-fledged data science environment. When you install Anaconda, you get:
- The Conda package and environment manager, designed for installing Python and non-Python tools and packages.
- Anaconda Navigator - a GUI tool for managing your environments, packages and tools.
- Over 1500 pre-installed packages that are useful for data science.
Anaconda is pretty big, at over 3GB. Alternatively, you can install Miniconda, which is a cut-down minimal version of Anaconda.
Anaconda is the de facto standard for data science. It is highly customisable and configurable.
Run a Container!
This is my favourite approach.
You can download a pre-configured container image, such as the Jupyter Notebook Data Science Stack .
Advantages:
- You can pull the image that contains exactly what you need.
- The images are portable and can be run easily on any machine.
- The container starts up really quickly.
- The container is isolated. There’s no risk of it conflicting with other Python-related software on your machine.
There are a bunch of so-called Jupyter stacks available as Docker images, and they’re all documented here.
For example:
| Stack | Includes (for example) | Approx Size |
|---|---|---|
| jupyter/base-notebook | Conda, mamba, notebook, jupyterlab | 1.0GB |
| jupyter/minimal-notebook | As with base-notebook, plus some command-line tools and utilities (like curl, git, nano) |
1.6GB |
| jupyter/scipy-notebook | As with minimal-notebook, plus a bunch of data science packages and tools (like bokeh, matplotlib, pandas, scikit-image, scikit-learn, scipy, and seaborn) |
4.1GB |
| jupyter/tensorflow-notebook | As with scipy-notebook, plus tensorflow |
|
| jupyter/pyspark-notebook | As with scipy-notebook, plus libraries for working with Hadoop and Apache Spark |
|
| jupyter/datascience-notebook | Combines everything from scipy-notebook, r-notebook and julia-notebook |
4.2GB |
Of course, to run a container, you do need to have Docker installed.
My favourite way to pull the image and run a container is using docker compose file. For example, here is my docker-compose-scipy-lab.yml.
version: '3.9'
services:
  jupyter:
    environment:
      JUPYTER_ENABLE_LAB: yes
      CHOWN_HOME: yes   # Next three env vars are needed to fix permission issues on WSL
      CHOWN_HOME_OPTS: '-R'
      JUPYTER_ALLOW_INSECURE_WRITES: true
    image: jupyter/scipy-notebook
    container_name: scipy-lab
    volumes:
      - .:/home/jovyan
    ports:
      - 8888:8888
To run the above file:
docker compose -f .\docker-compose-scipy-lab.yml up
And it looks like this:
In the Cloud!
You don’t even need to run Jupyter Notebooks locally! You can make use of a pre-configured cloud service. They are often free, unless you reach a point where you need more power, capacity or features.
A couple of options include:
Anaconda Notebooks in the Cloud
- Advantages:
- Free cloud-based Jupyter environment. (With paid options available.)
- Full Jupyter Lab environment, with visual debugger, ready-to-go.
- Pre-loaded Anaconda stacks.
- Disadvantages:
- You get a daily CPU allocation, but it doesn’t go very far with the free tier.
- Advantages:
- Free cloud-based Jupyter environment. (With paid options available.)
- Seamless integration with the Google ecosystem. You just need a gmail identity.
- Integrates with Google Cloud. E.g. really easy to use, say, Google Secret Manager.
- Easily load your notebooks directly from Google Drive or GitHub without having to upload them first.
- Really easy to share you notebooks.
- Disadvantages:
- Does not provide Jupyter Lab out-of-the-box. You get Jupyter Notebooks instead. It is possible to run Jupyter Lab from Google Colab, but it takes a tiny bit of work.
Others
There are others, like Azure Notebooks, and Google Vertex AI Workbench. But these are paid-for offerings, so I’m not going to get into them here.
Sharing with a Cloud Service
Note: you can always edit your notebooks locally, and then use a cloud-based Jupyter service for sharing your work with others, in a runnable format. For example, here’s how you might share notebooks with Google Colab:
- To provide a Colab link that opens your notebook directly from Google Drive, you can use a link like this:
https://colab.research.google.com/drive/some_unique_id - To provide a Colab link that opens your notebook directly from GitHub, you can use a link like this:
https://colab.research.google.com/github/profile/repo/blob/master/path/to/some_notebook.ipynb
For example: Open Advent of Code 2017 Notebook in Google Colab