Learning Python with Advent of Code Walkthroughs
Dazbo's Advent of Code solutions, written in Python

Advent of Code 2025 - Day 4
Useful Links
Concepts and Packages Demonstrated
GeneratorsNamedTuplePillowImageIOMatplotlib
Problem Intro
We are in the printing department and need to help the Elves optimise their forklift operations to break through a wall. The warehouse is represented as a grid of paper rolls (@) and empty spaces (.).
Forklifts can only access a roll of paper if there are fewer than 4 rolls in the 8 adjacent positions (horizontal, vertical, and diagonal).
Example input:
..@@.@@@@.
@@@.@.@.@@
@@@@@.@.@@
@.@@@@..@.
@@.@@@@.@@
.@@@@@@@.@
.@.@.@.@@@
@.@@@.@@@@
.@@@@@@@@.
@.@.@@@.@.
Part 1
How many rolls of paper can be accessed by a forklift?
I implemented a ForkliftGrid class to encapsulate the grid logic. Creating a dedicated class for the grid is a great practice because it keeps all the grid-related operations (like bounds checking and accessing values) in one place, making the main logic cleaner and easier to read.
The grid data is initialized by converting the input list of strings into a list of lists.
class ForkliftGrid():
    def __init__(self, grid_array: list) -> None:
        self.array = [list(row) for row in grid_array]
        self._width = len(self.array[0])
        self._height = len(self.array)
Why lists instead of strings? In Python, strings are immutable, meaning they cannot be changed after creation. In Part 2, we need to “remove” paper rolls from the grid. If we stored the grid as strings, we would have to create a new string for every row we modify, which is inefficient. By using a list of lists, we can modify individual cells in-place (e.g., self.array[y][x] = '.').
To represent coordinates, I used a NamedTuple called Point. This is a lightweight and immutable way to store x and y coordinates, which makes them perfect for dictionary keys or set members if needed.
class Point(NamedTuple):
    x: int
    y: int

    def yield_neighbors(self):
        for dx in (-1, 0, 1):
            for dy in (-1, 0, 1):
                if dx == 0 and dy == 0:
                    continue
                yield Point(self.x + dx, self.y + dy)
I also used a generator for the yield_neighbors method. Instead of creating and returning a full list of neighbor points at once, yield produces them one by one. This is memory efficient and allows us to iterate over neighbors immediately.
The solution iterates through every point in the grid. If the point contains a paper roll (@), it checks its 8 neighbors using the generator. If the count of neighbors containing @ is less than 4, the roll is counted as accessible.
Part 2
How many rolls of paper can be removed by iteratively removing accessible rolls?
The process is iterative. Once accessible rolls are removed, new rolls might become accessible. We need to simulate the process of removing accessible rolls until no more rolls can be removed, and count the total number of rolls removed.
I used a while loop to repeatedly find accessible locations:
- Find all currently accessible rolls using the logic from Part 1.
- If no rolls are accessible, terminate.
- Mark all accessible rolls as removed.
- Increment the count of removed rolls.
- Repeat.
Results
| Part | Result | Time |
|---|---|---|
| Part 1 | 1578 | 0.031s |
| Part 2 | 10132 | 0.732s |
Note: Execution time for Part 2 is without visualisation generation.
Bonus: Visualisation
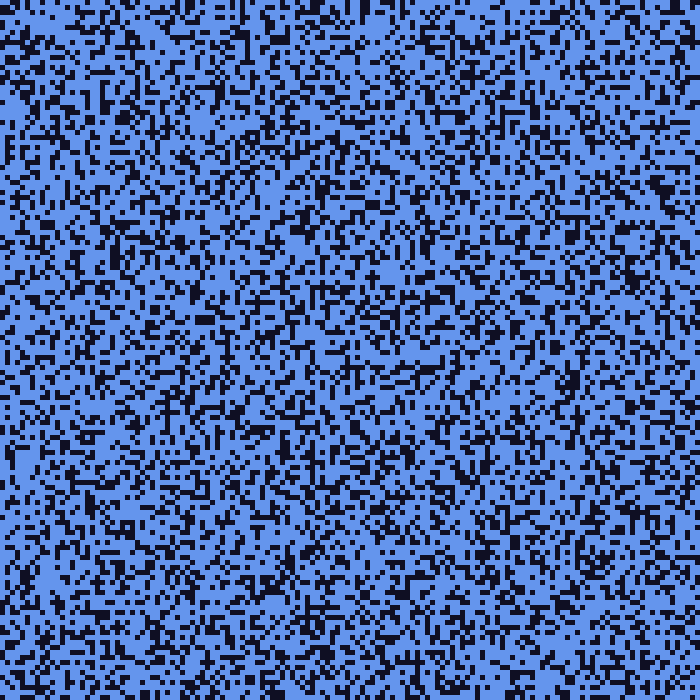
I created a visualisation using Pillow and imageio to generate a GIF of the process.
Implementation Details
I implemented a Visualiser class that handles the image generation. It works by:
- Initialization: Takes the
ForkliftGridand ascalefactor (pixels per grid cell). - Heatmap Tracking: I maintain a
heat_mapdictionary that maps points to an intensity value (0.0 to 1.0).- When a roll is removed, it’s added to the map with intensity 1.0.
- In each frame, the intensity of all points decays by a fixed rate (e.g., 0.15).
- Rendering Frames: The
render_framemethod creates a new image usingPIL.Image.new.- Paper rolls (
@) are drawn in Cornflower Blue. - Empty space (
.) is drawn in Very Dark Blue. - Heatmap Overlay: For points in the heat map, I use
matplotlib’splasmacolormap to convert the intensity to an RGB color, creating a glowing, fading trail effect.
- Paper rolls (
- Saving GIF: The
save_gifmethod usesimageioto stitch the collected frames into an animated GIF.
    def update(self, new_points: list[Point]):
        """ Update the heatmap with newly removed points """
        # Decay existing heat
        for p in list(self.heat_map.keys()):
            self.heat_map[p] -= self.decay_rate
            if self.heat_map[p] <= 0:
                del self.heat_map[p]

        # Add new points with max heat
        for p in new_points:
            self.heat_map[p] = 1.0

    def render_frame(self):
        """ Render the current grid state to an image frame """
        # ... (draw static grid) ...

        # Draw heatmap overlay
        for point, intensity in self.heat_map.items():
            # Get color from colormap (returns RGBA float tuple)
            rgba = self.cmap(intensity)
            # Convert to RGB int tuple
            color = tuple(int(c * 255) for c in rgba[:3])

            draw.rectangle(
                [point.x * self.scale, point.y * self.scale, (point.x + 1) * self.scale - 1, (point.y + 1) * self.scale - 1],
                fill=color
            )

        self.frames.append(img)
Optimization
Generating the GIF adds significant overhead. To avoid slowing down every run, I added a check to only run the visualisation logic if the output GIF file does not already exist.
    # Only run visualisation if the output file doesn't already exist
    if vis_filename:
        vis_path = locations.output_dir / vis_filename
        if not os.path.exists(vis_path):
            vis = Visualiser(grid, scale=5)
            vis.render_frame() # Initial state
This allows the solution to run in ~0.7s normally, versus ~2.6s when generating the visualisation.